This step by step tutorial shows you how to make a spider plush toy. It includes a video and photos and is perfect for a young reader who loves Anancy.
Click here to watch the video tutorial on Youtube.
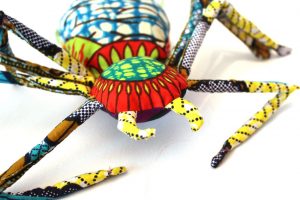
I made a giant spider about 4 years ago that was about 6 feet including the legs for an event.
Check him out! I stumbled through making that one. It took about a week and a lot of stuffing to make that thing happen. Lets not even talk about the fact that the thing wasn’t anatomically correct. The kids at the event loved it, which made it all worth it. They didn’t seem to notice.
Read: 10 Anancy Stories to Love

At this year’s event we had 4 smaller spiders (but still big) made by NicoleandMadeline.com and they were a huge hit. So I modified the pattern so that you can print it out and make one of your own.
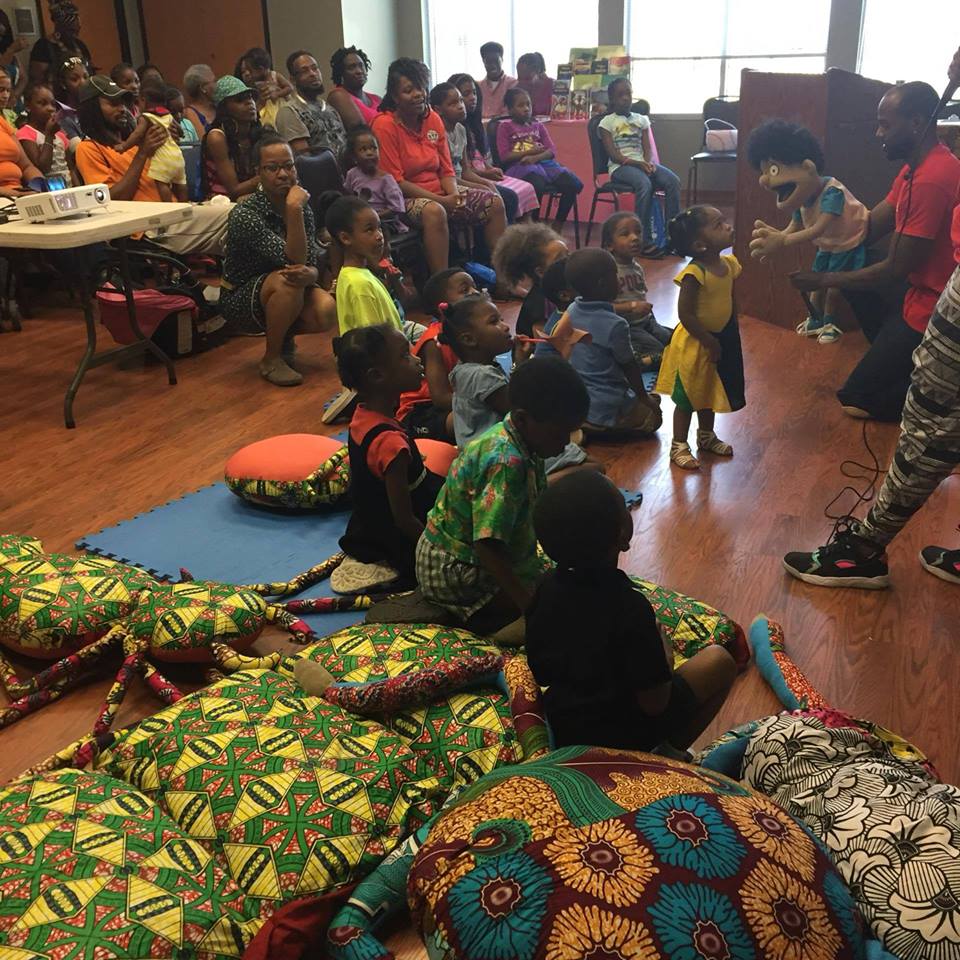
Check out: [PHOTOS] The 2016 Anancy Festival in Washington DC Hosted by SocaMom.com
You will need (click the affiliate link to the right of the item to purchase):
1/2 a yard of fabric – http://amzn.to/2a7Z1aj
2 sets of scissors, small craft ones, and larger fabric ones – http://amzn.to/2aygkoU
Pattern which you can download here – Anancy Spider Plush Pattern
Printer to print out the pattern – http://amzn.to/2aDLNV7
Needle and thread or a sewing machine – http://amzn.to/2aygVXL
Standard unsharpened pencil – http://amzn.to/2ah1sHx
Skewer or thin stick – http://amzn.to/2ah3VBu
Stuffing – http://amzn.to/2a803mZ
Pins – http://amzn.to/2a803mZ
This should take you about 90 minutes.
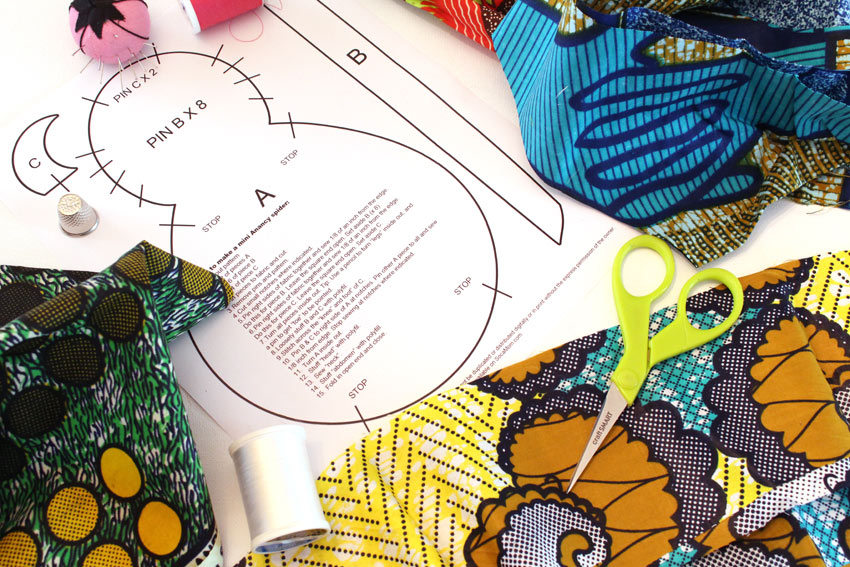
I chose several different ankara patterned fabrics to make a patchwork spider, but you can use any fabric you prefer. Keep in mind that stripes and plaids are a little harder, because you have to make sure that everything lines up.
Click here to watch the video tutorial on Youtube.
-
- Download the pattern and print it out to get started.
- Cut out the parts of the pattern to make it easier to work with.
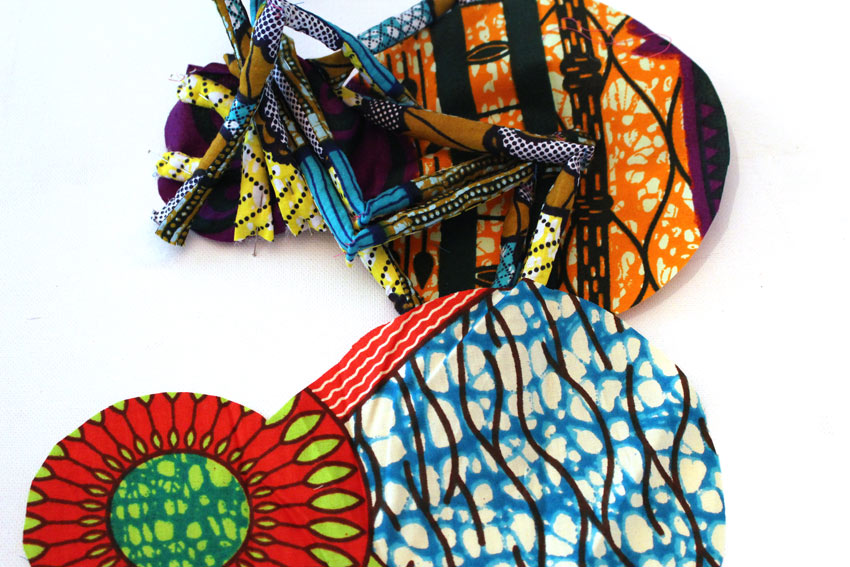
I used two different designs for the top and the bottom of the spider, and worked with the circle pattern to correspond with the spider’s head. We are going to use real spider terms here so that I don’t say stuff like thingies. The part that looks like the head is the cephalothorax, and the back is the abdomen. Those curved things (Part C) are called mouth fangs.
-
- Next pin the trimmed pattern to the fabric and cut along the lines. Take the pins out and we have two identical shapes. Set those to the side.
- Take the fabric that you chose for the mouth fangs and fold it in four. Depending on the fabric you use, you will need to pay close attention to the right and wrong sides. Again we pin the pattern to the fabric and cut. Take the pins out and you have four identical pieces. Set those aside.
- Cut out 16 of the leg (Part B). 8 with the “toe” pointed to the right and 8 to the left. Match and pin right sides.
I folded one design in 8, pinned the pattern and cut, then did the same with another design. After that I matched and pinned the pieces. I did the same thing for the mouth fangs. You can use the machine, but these are so tiny, it is probably safer to hand sew these.
-
- Use the pointed craft scissors to turn the mouth fangs inside out, then use a pin to get the point of the mouth fang to show when it is inside out.
- Sew the legs, making sure that the right sides face each other. Use the 1/8 inch guide so that everything is even.
- Use a pencil to open up the leg and then use the skewer to turn it inside out. Use a pin to get the point of the leg to show.
- Use the skewer to stuff the mouth fangs with stuffing.
- Wrap the skewer with the stuffing, and then slide the wrapped skewer into the leg. Once you reach the end, carefully squeeze remove the skewer.
- Make a stitch across the end of the leg to make an “ankle,” then do the same across the “knee.” Make three passes with the sewing machine.
- Pin the legs and mouth fangs to Part A.
Once you have done all eight legs, it is time to pin them to the cephalothorax. You can use the guide from the pattern or you can just start at the base and work your way around. Start by pinning to the bottom piece, knees facing up. Mouth fangs should face one another. After you have pinned everything to the bottom, add the top piece and transfer the pins so that one pin holds the top, leg, and bottom together. Do this for all 8 legs and two mouth fangs.
Click here to watch the video tutorial on Youtube.
-
- Sew all, keeping legs inside and away from the needle.
Carefully, and slowly sew all, don’t forget to use the 1/8 inch guide on the machine and be careful not to break your needle sewing across the pins. Leave the bottom of the abdomen open.
-
- Turn it inside out, pulling the legs through the hole you left in the abdomen.
- Stuff the cephalothorax going through the hole that you left in the abdomen. Leave the “neck” unstuffed.
- Sew up the neck with one pass on the machine.
- Stuff the abdomen.
The ribbon is optional. You can either hand sew the abdomen closed, or you can add a ribbon where the spinnarets would go so that the kids can hang it from the door as a “do not disturb, I’m reading,” sort of thing, or you can just hang it up somewhere.
-
- Measure and cut the ribbon to the desired length, and pin it to the abdomen pin. You can sew by hand or on the machine to close.
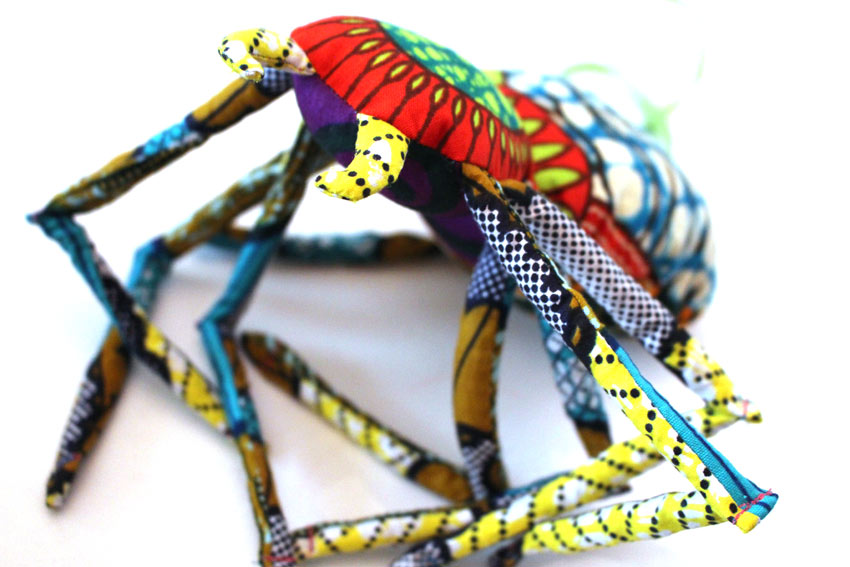
All done! Special shout out to Nicole and madeline for coming up with such a great pattern for me to modify. If you make your own spider plush, post it on instagram and tag me @socamom, tweet it and at me at @socamomdc, or tag Socamom in your post on Facebook.
Click here to watch the video tutorial on Youtube.

Check out my book, Anancy’s Family Reunion, available on Amazon, paperback and Kindle.